Private DNS Zones
Overview
Creating private DNS zones in Wayfinder follows a similar process to public zones but requires a deeper understanding of your cloud provider's settings.
Follow the public DNS zone setup instructions until you reach the "Intended Use" section, then select "Private" under Advanced Settings.
From this point, depending on your cloud provider, you'll need to configure one or more network links (vNet or VPC). These network links ensure that the private DNS zone is resolvable within the specified vNet or VPC.
Private DNS Zones
For Private DNS Zones, advanced knowledge of your cloud provider's settings is needed, as additional configuration is required to enable Wayfinder to create and manage these zones for private clusters.
A typical setup is to configure Wayfinder to make all private zones resolvable in a single network, then run a DNS resolver in that network which is used by your cloud estate, making private DNS resolvable throughout.
You'll need to know the IDs of the cloud provider networks where the zone should be resolvable and ensure Wayfinder has access to perform DNS linking:
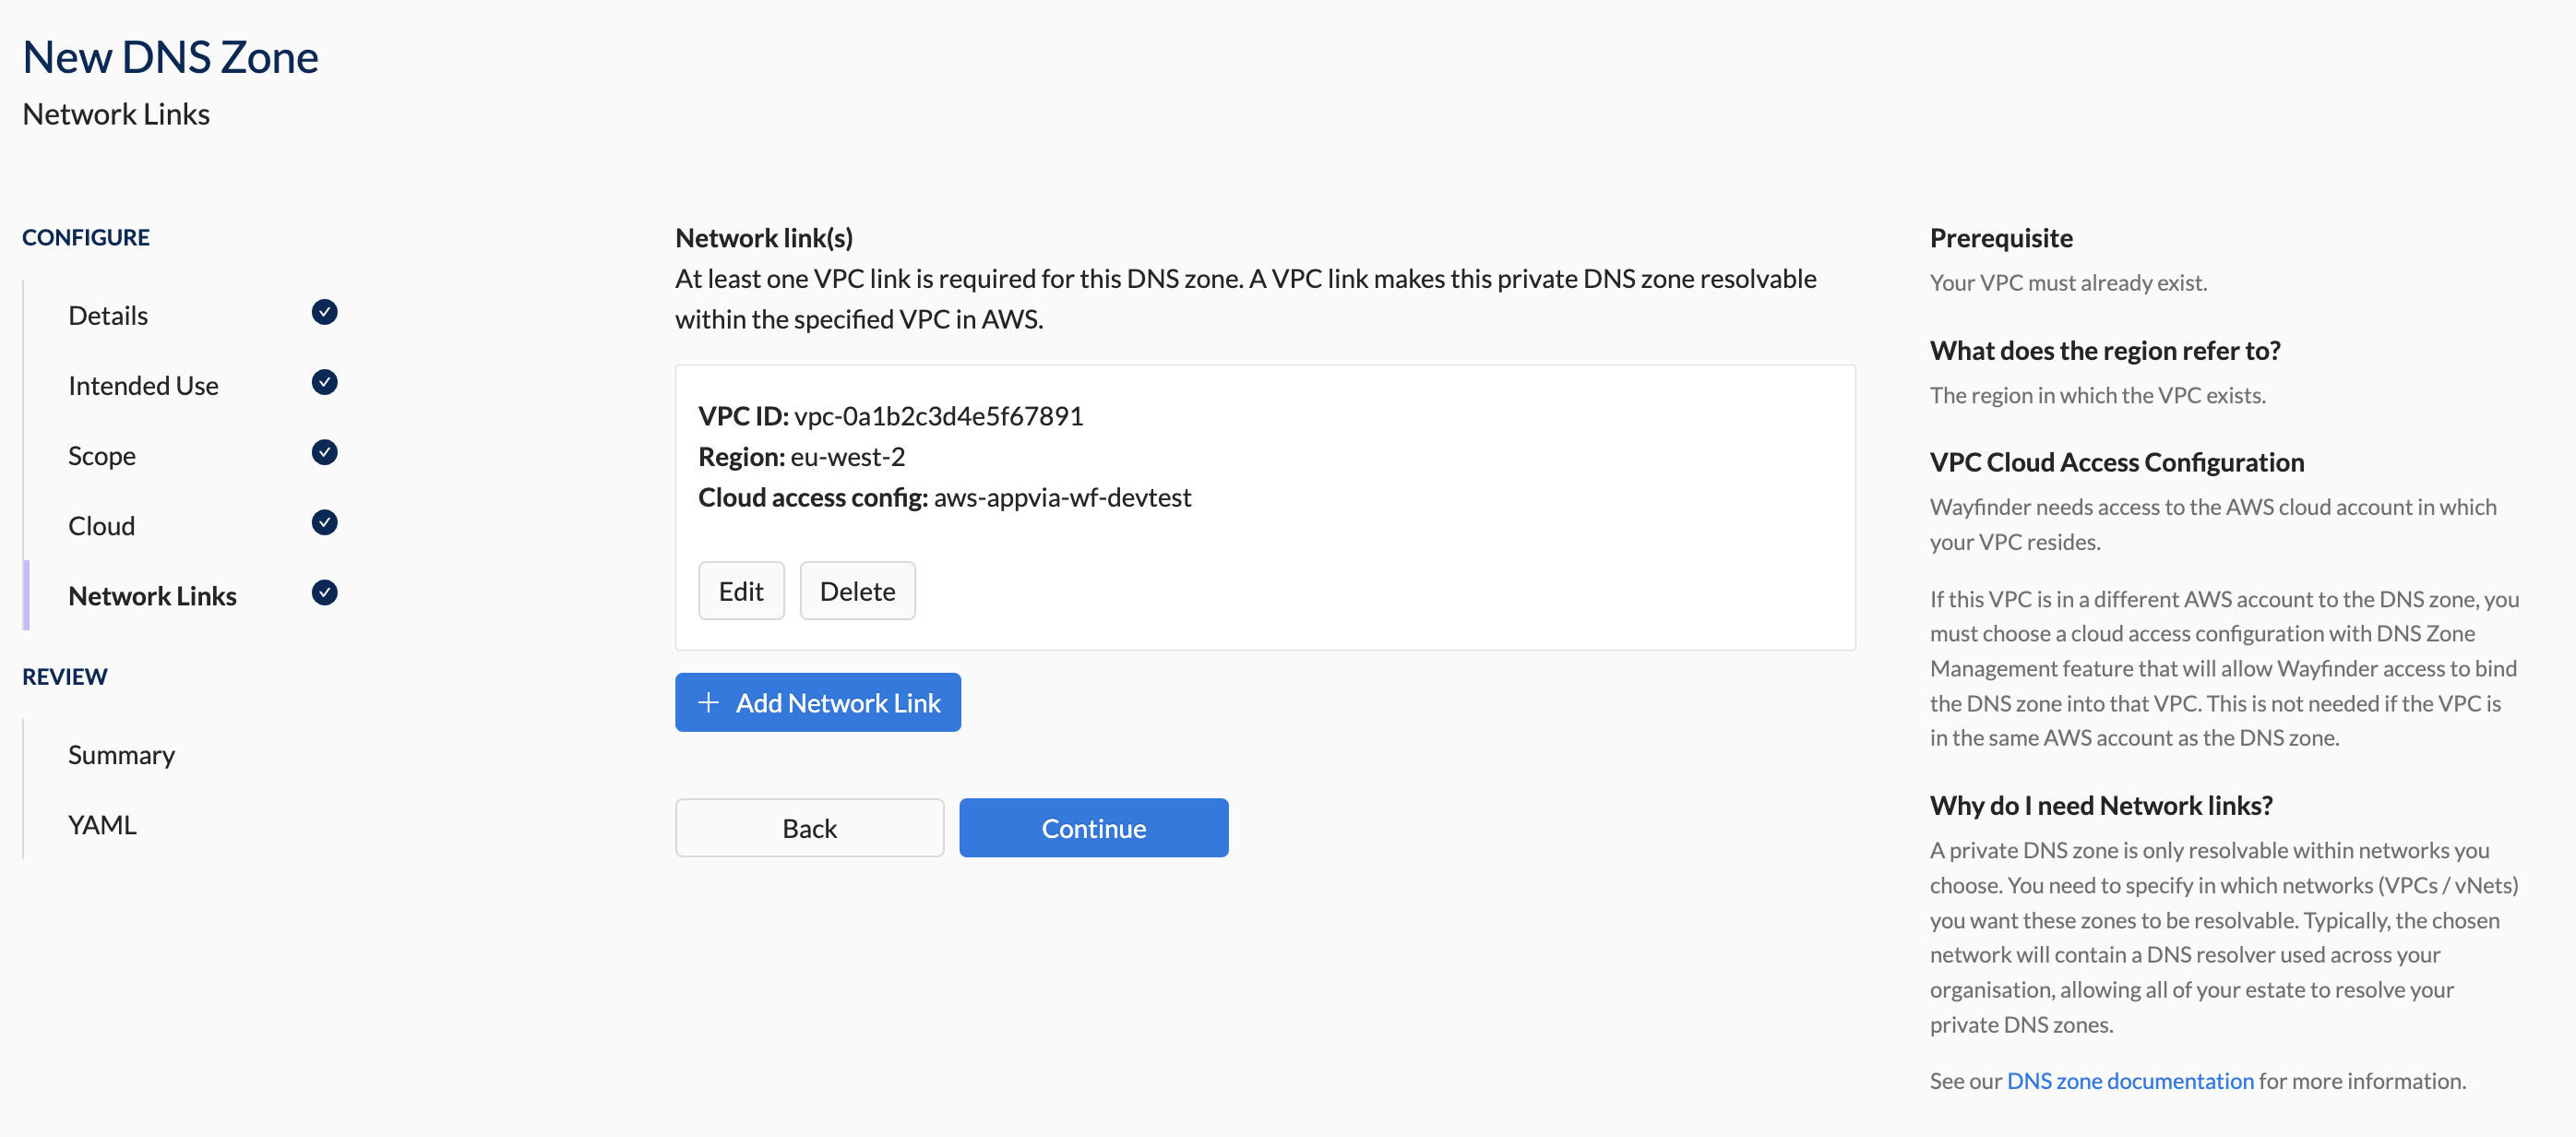
- AWS Route 53: Requires one or more VPC IDs in which you want the domain to be resolvable. If these are in a different AWS account to where you are creating the DNS zone, you'll need to add an additional Cloud Access Configuration with "DNS provisioning" for that account.
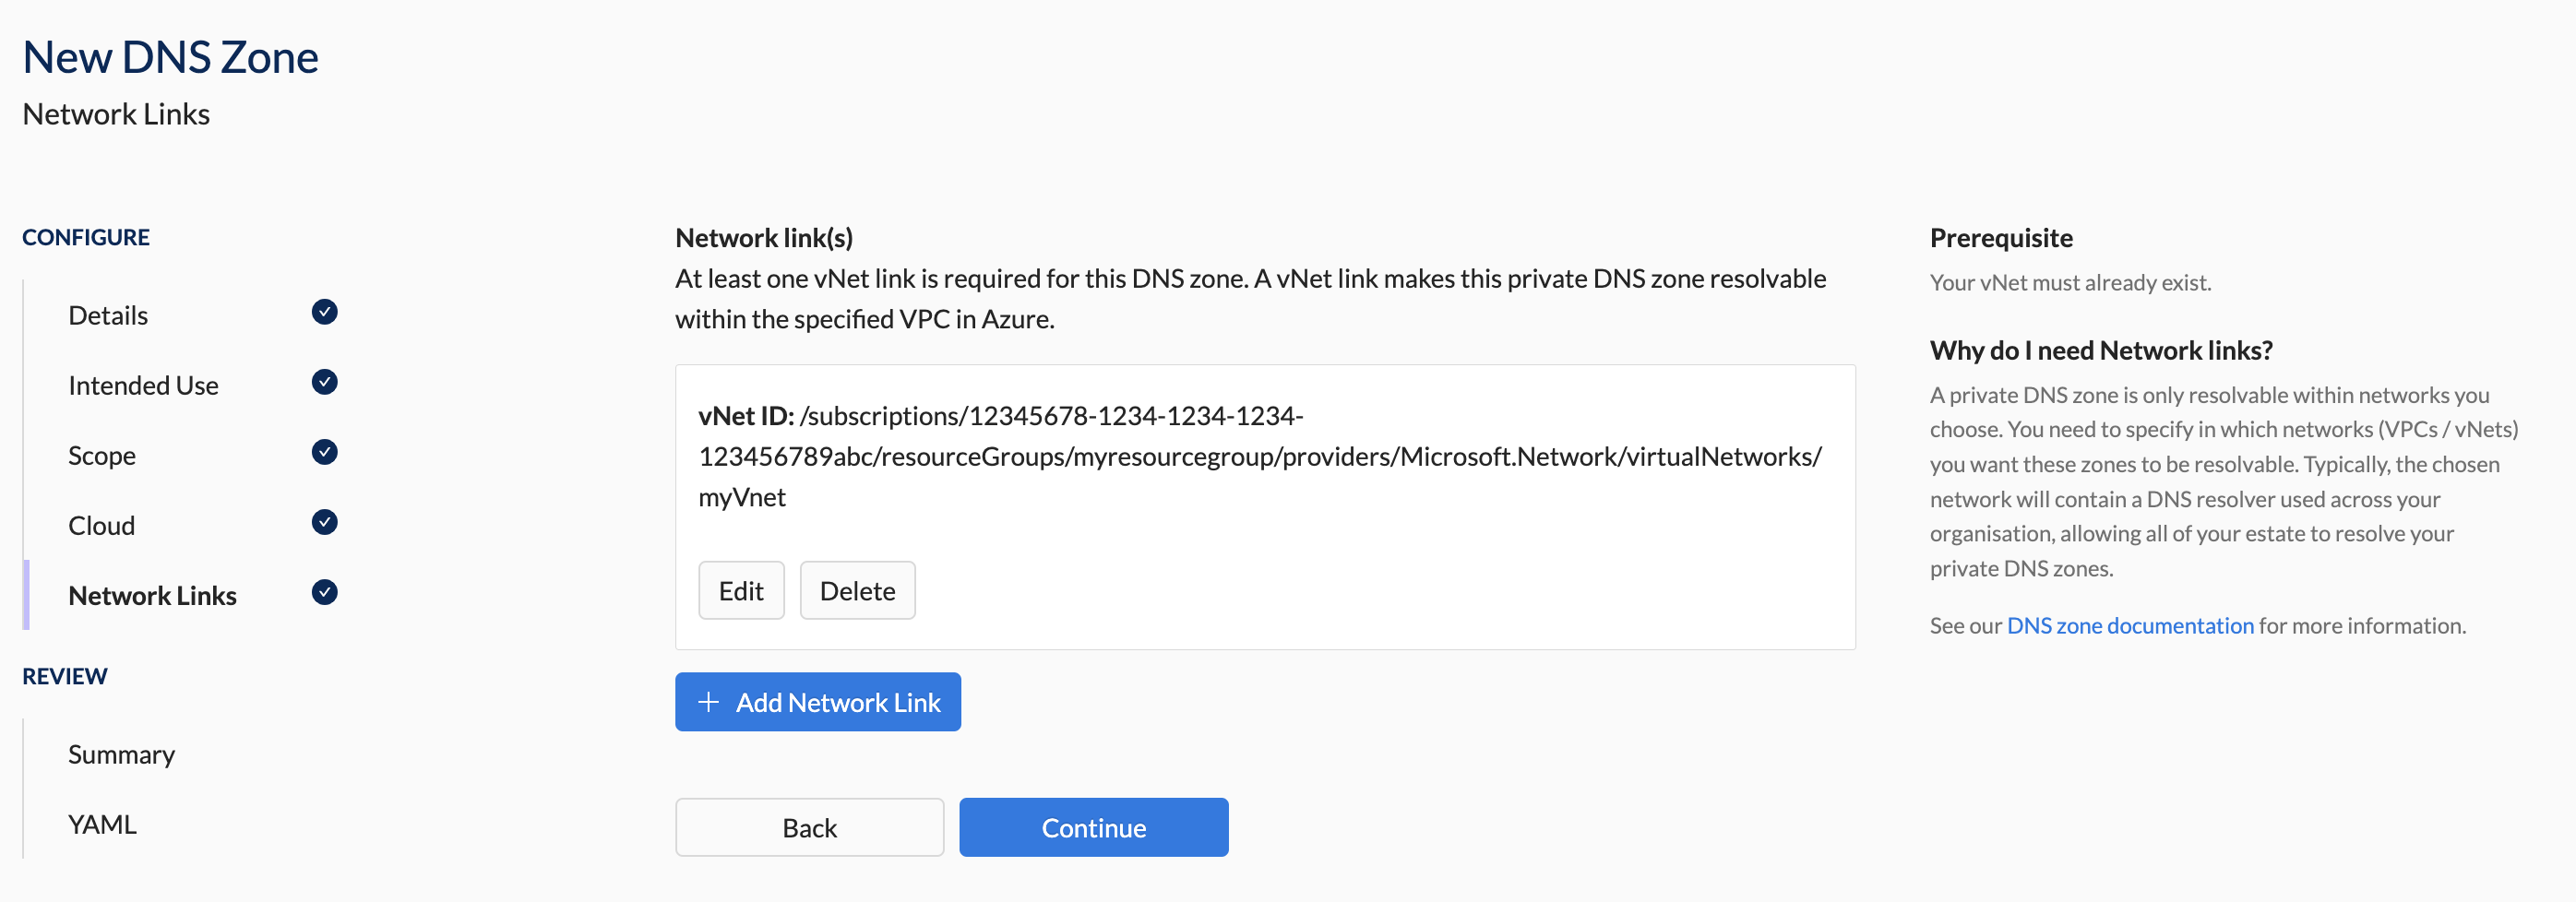
- Azure DNS: This feature will only work with a Centralised DNS Architecture.
- Prerequisites include:
- A hub VNet is configured
- A central DNS service must be configured
- Peering is configured to connect the vNets to the hub/spoke by using, for example, the virtual WAN service
- Additionally, you must:
- Configure the cluster network plan to include the DNS resolver of the central DNS service.
- Provide Wayfinder with the ID of the hub vNET to permit DNS resolution
- Prerequisites include:
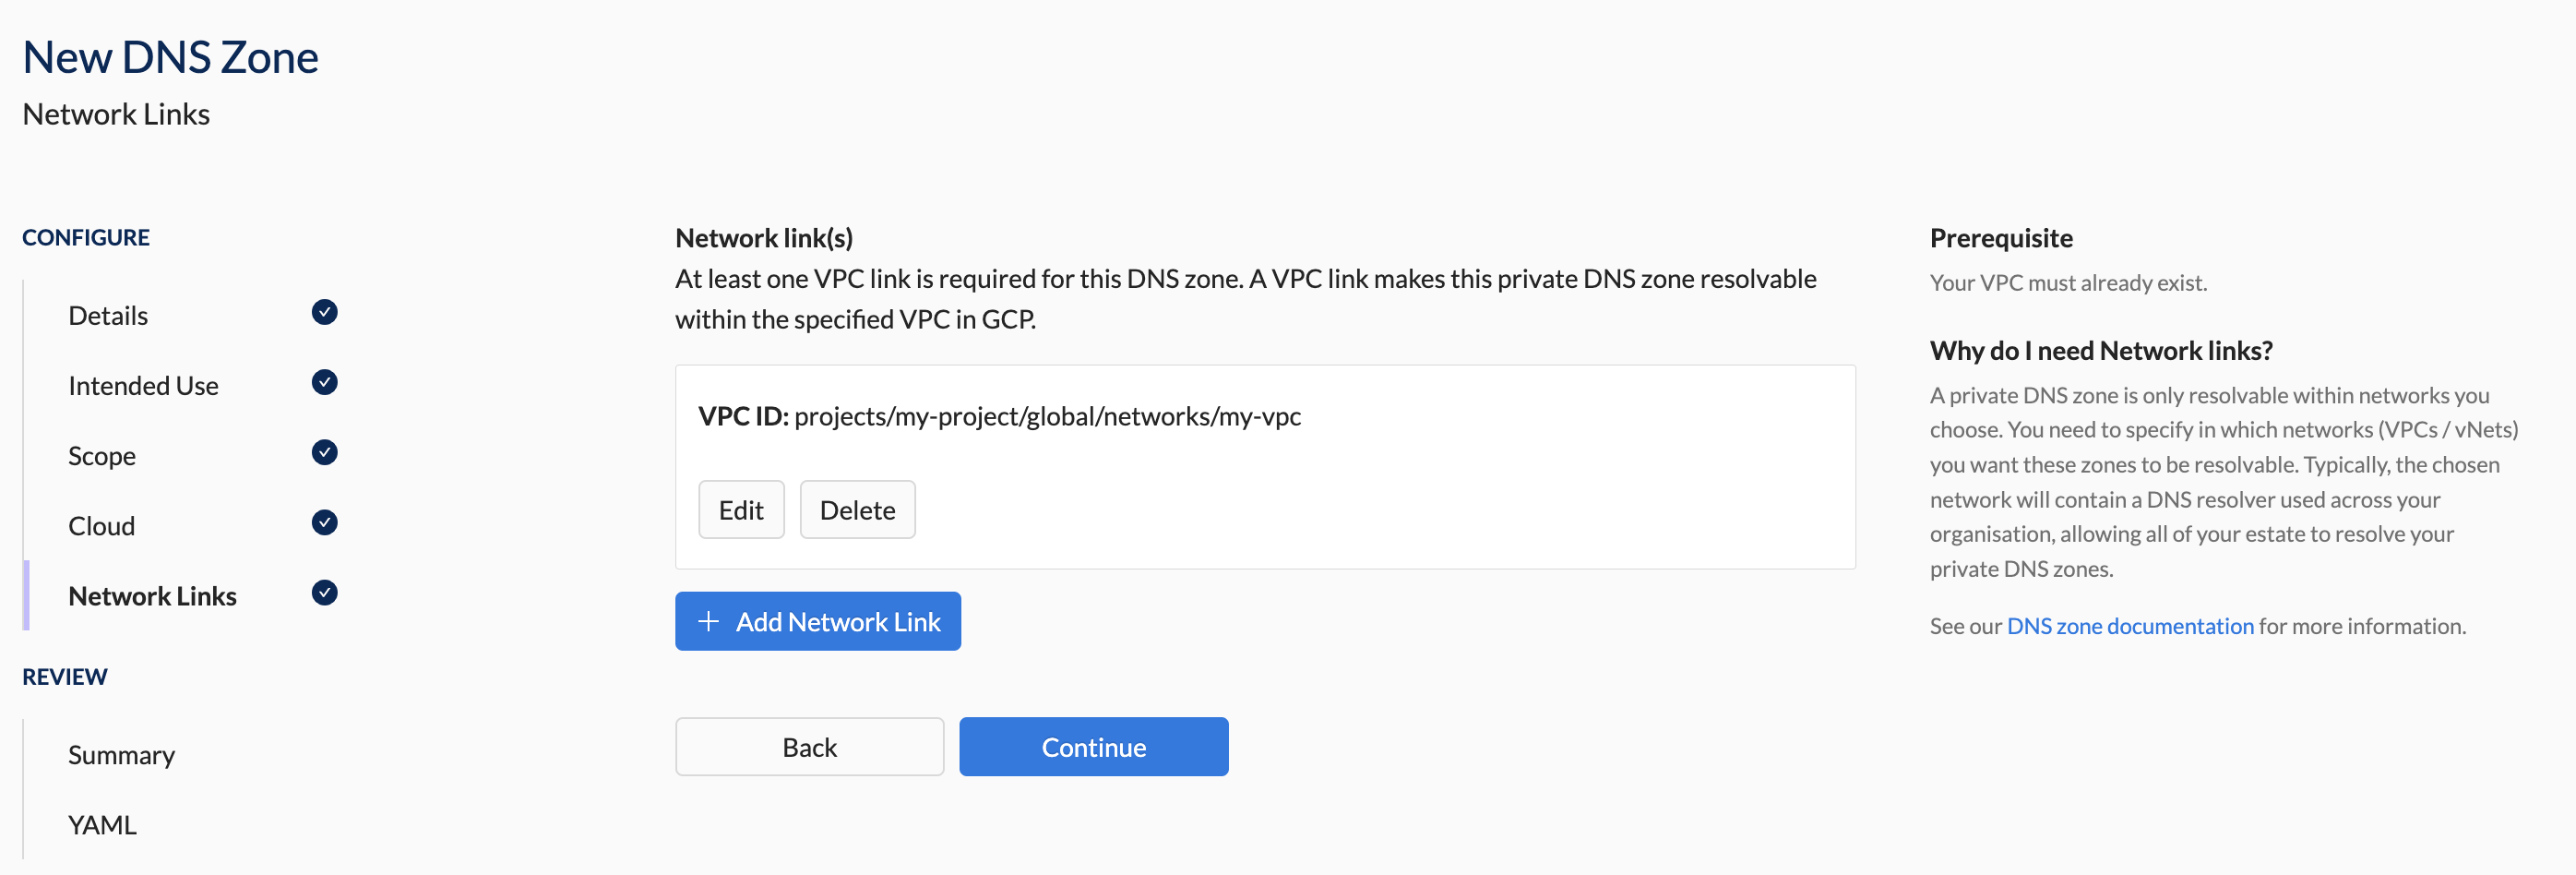
- GCP Cloud DNS: Requires one or more VPC IDs in which you want the domain to be resolvable. You must grant Wayfinder's GCP identity access to this VPC.
CLI Instructions
Create a new DNS Zone
Follow the instructions in the details section.
Make sure to include the relevant vNet or VPC properties in the YAML configuration.
AWS Example
spec:
  providerDetails:
    type: AWS
    aws:
      privateZoneVPCs:
      - vpcID: vpc-0a1b2c3d4e5f67891
        cloudAccessConfigRef:
          name: aws-appvia-wf-devtest
          workspace: admin
        region: eu-west-1
  privateZone: true
Azure Example
spec:
  providerDetails:
    type: Azure
    azure:
      region: ukwest
      privateZoneVNetIDs:
      - '
        /subscriptions/12345678-1234-1234-1234-123456789abc/resourceGroups/myresourcegroup/providers/Microsoft.Network/virtualNetworks/myVnet'
  privateZone: true
GCP Example
spec:
  providerDetails:
    type: GCP
    gcp:
      privateZoneVPCs:
      - projects/my-project/global/networks/my-vpc
  privateZone: true
Web Interface Instructions
Steps
- Follow the public DNS zone instructions.
- In the Intended Use section, expand Advanced Settings and toggle Private DNS zone to "On" (blue).
- Complete the Scope and Cloud sections as per the public DNS zone instructions.
- In the Network Link section, provide the necessary network link details for your cloud provider (see screenshots below).
- Review the summary of your configuration and then Apply the YAML using your preferred method.
- Follow the Delegation instructions to complete the configuration.
Screenshot(s)
- AWS

- Azure

- GCP
